Cupping Therapy: Step-by-Step Process, Safety & Benefits
Cupping therapy, an ancient healing practice with roots in traditional medicine, is gaining significant traction as a powerful tool for modern pain relief, enhanced circulation, and accelerated recovery. For many, the distinctive circular marks are a familiar sight on athletes and wellness enthusiasts, but the process itself remains a mystery. If you're considering this treatment, you're likely wondering what to expect during a cupping session. This comprehensive guide will walk you through every step of the journey, from your initial consultation to post-session care, ensuring you feel prepared, confident, and ready to embrace the therapeutic benefits of this remarkable modality.
Step 1: The Pre-Session Consultation & Preparation
Your journey at Physio Cure Dubai begins long before the first cup is placed. True to our doctor-led philosophy, every treatment starts with a thorough and personalized assessment. This isn't just a formality; it's the foundation of a safe and effective session tailored specifically to you.
During this initial phase, one of our licensed Doctors of Physical Therapy, such as our Medical Director Dr. Mina Gamil, will sit down with you to discuss:
- Your Medical History: We'll review any existing conditions, past injuries, or medications you're taking to ensure cupping is a suitable modality for you.
- Your Specific Goals: Are you seeking relief from chronic back pain, recovering from a sports injury, or looking to improve overall muscle function? Understanding your objective allows us to target the right areas with the right techniques.
- Physical Assessment: The therapist will likely perform a brief physical examination of the target area, assessing your range of motion, muscle tightness, and specific points of pain.
To prepare for your appointment, we recommend wearing loose, comfortable clothing that allows easy access to the treatment area (e.g., your back, shoulders, or legs). It's also wise to eat a light meal and stay well-hydrated in the hours leading up to your session. This ensures your body has the energy it needs for an optimal therapeutic response.
Patient Tip: Be open and honest during your consultation. The more your therapist knows about your condition and lifestyle, the more they can customize the treatment for maximum benefit. This is a collaborative process built on integrity and trust.
Step 2: The Cupping Process Unveiled
Once the assessment is complete and a personalized plan is established, the cupping therapy session begins. You'll be asked to lie down comfortably on a treatment table, usually face down for back treatments, in our modern and clean facility. The therapist will ensure you are warm and relaxed, using drapes to maintain your privacy and comfort.
Creating the Therapeutic Suction
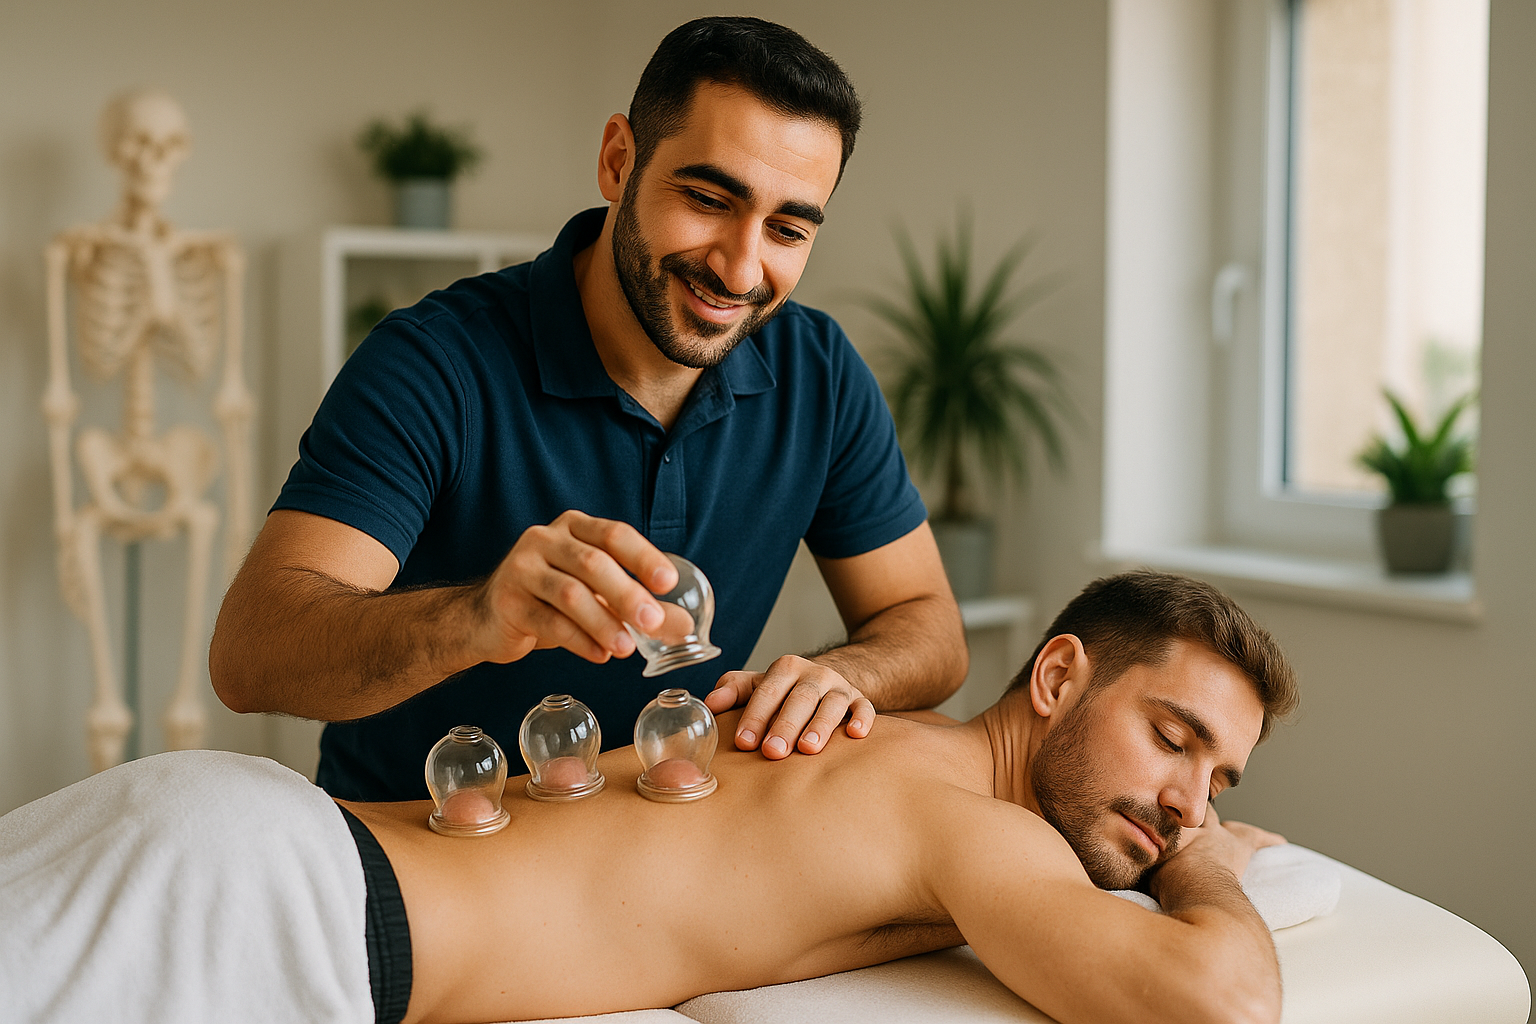
The therapist will apply a light oil or lotion to your skin. This not only feels pleasant but also allows the cups to glide smoothly if a "moving cupping" technique is used. The core of the therapy is creating a negative pressure, or vacuum, inside the cups. At Physio Cure, we use modern, evidence-based methods:
- Pump Suction: The most common and controlled method involves placing a plastic or glass cup on the skin and using a small hand pump to draw air out, creating the desired level of suction.
- Silicone Cups: Flexible silicone cups can be squeezed to expel air before being placed on the skin, creating a gentle and easily adjustable suction.
- Heat (Fire) Cupping: In the traditional method, a flame is briefly introduced into a glass cup to heat the air inside. As the air cools, it creates a vacuum that pulls the skin upward. Our practitioners are highly skilled in this technique, ensuring complete safety.
You will feel a distinct pulling or tightening sensation as your skin and underlying soft tissue are drawn into the cup. This is a key part of the therapeutic process. For a first session, your therapist will likely use 3 to 7 cups and leave them in place for approximately 5 to 15 minutes.
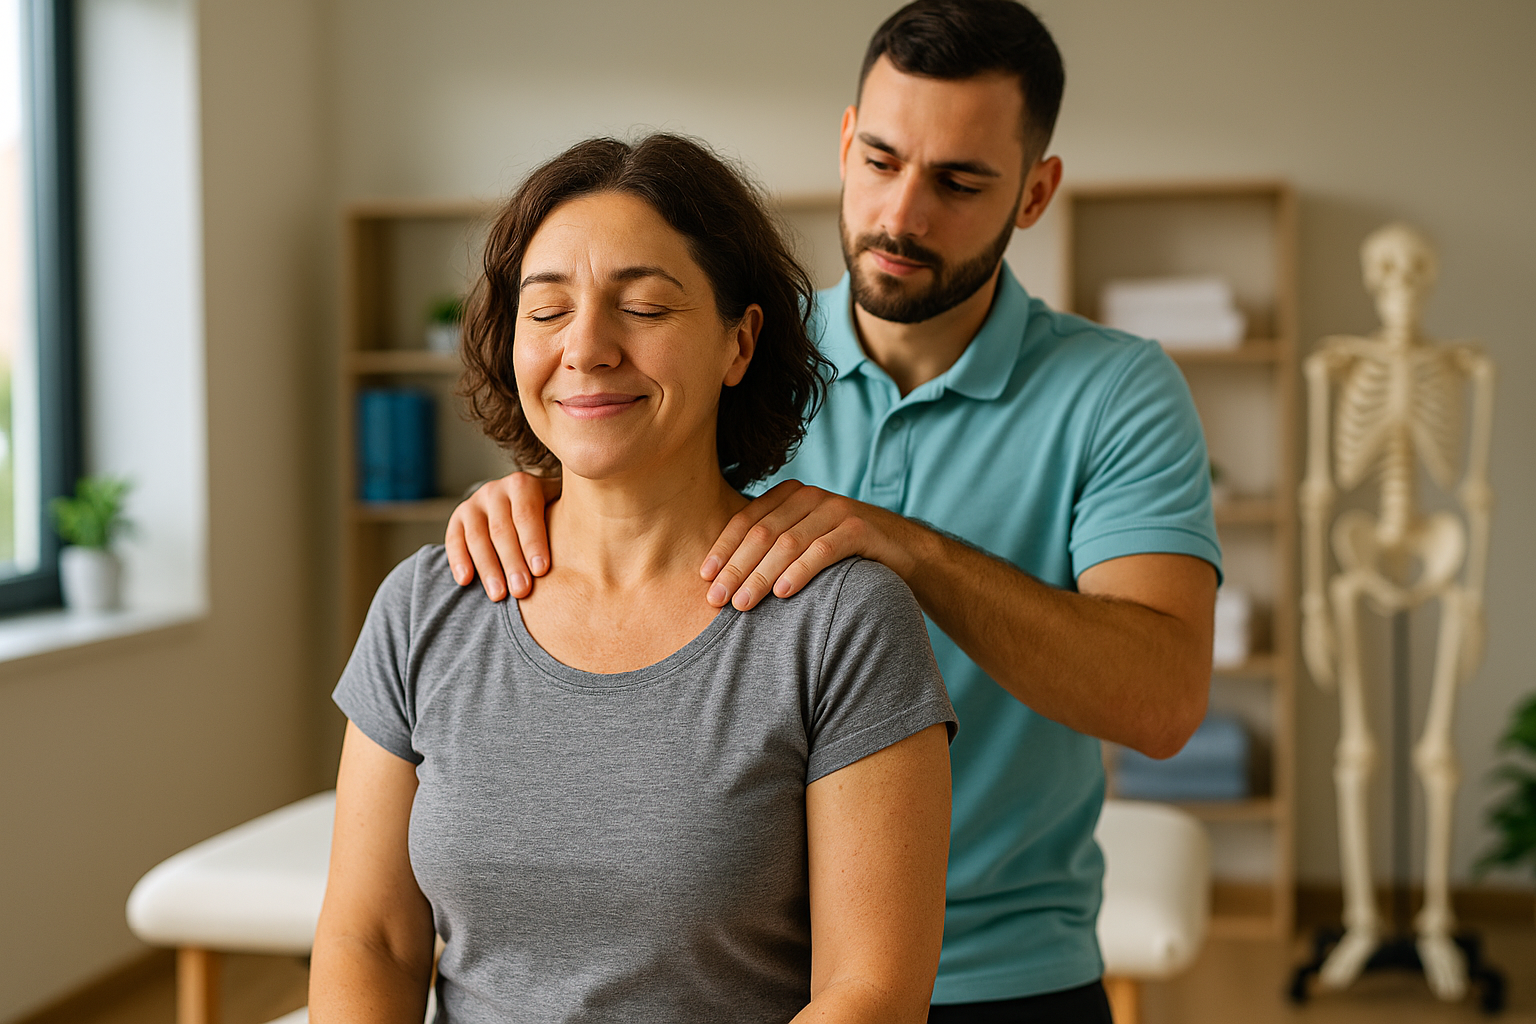
Understanding the Techniques: Cupping vs. Massage and Other Modalities
While often compared, cupping and massage work on opposite principles. Massage applies downward pressure to compress tissues, whereas cupping uses negative pressure to lift and decompress them. This lifting action is what makes cupping therapy for pain so effective, as it can help release tight fascia, increase blood flow to stagnant areas, and encourage lymphatic drainage. Our therapists often combine cupping with other modalities like Manual Therapy or Dry Needling for a comprehensive, holistic treatment plan.
During your session, your doctor may use one of two primary dry cupping techniques:
- Stagnant (or Static) Cupping: The cups are placed on specific points—such as trigger points or areas of high tension—and left in a fixed position for the duration. This is excellent for targeting deep, localized issues.
- Dynamic (or Moving) Cupping: After applying oil and creating a lighter suction, the therapist glides the cups over a larger muscle group. This feels like a deep-tissue massage in reverse and is fantastic for addressing broader muscle tightness and improving circulation and recovery across an entire region.
Communication is Key: The sensation should be a strong pull, not sharp pain. Always communicate with your therapist. They can easily adjust the level of suction to ensure you remain comfortable throughout the session.
Step 3: Post-Session Sensations and The Famous Marks
When the therapist gently removes the cups, you may feel an immediate sense of release and lightness in the area. The most visible result, however, will be the distinctive circular marks. It's crucial to understand what these are.
Are They Bruises?
No, cupping marks are not bruises. A bruise (contusion) is caused by trauma that breaks capillaries, leading to bleeding and pain. The marks from cupping, known as ecchymosis, are a result of stagnant blood, toxins, and cellular debris being pulled to the surface from deep within the tissue. The color of the mark—from light pink to deep purple—can give your therapist diagnostic clues about the level of stagnation and toxin buildup in that area. These marks are typically painless and will fade completely within 1 to 2 weeks as your body's enhanced circulation clears the drawn-out waste products.
Step 4: Aftercare and Maximizing Your Results
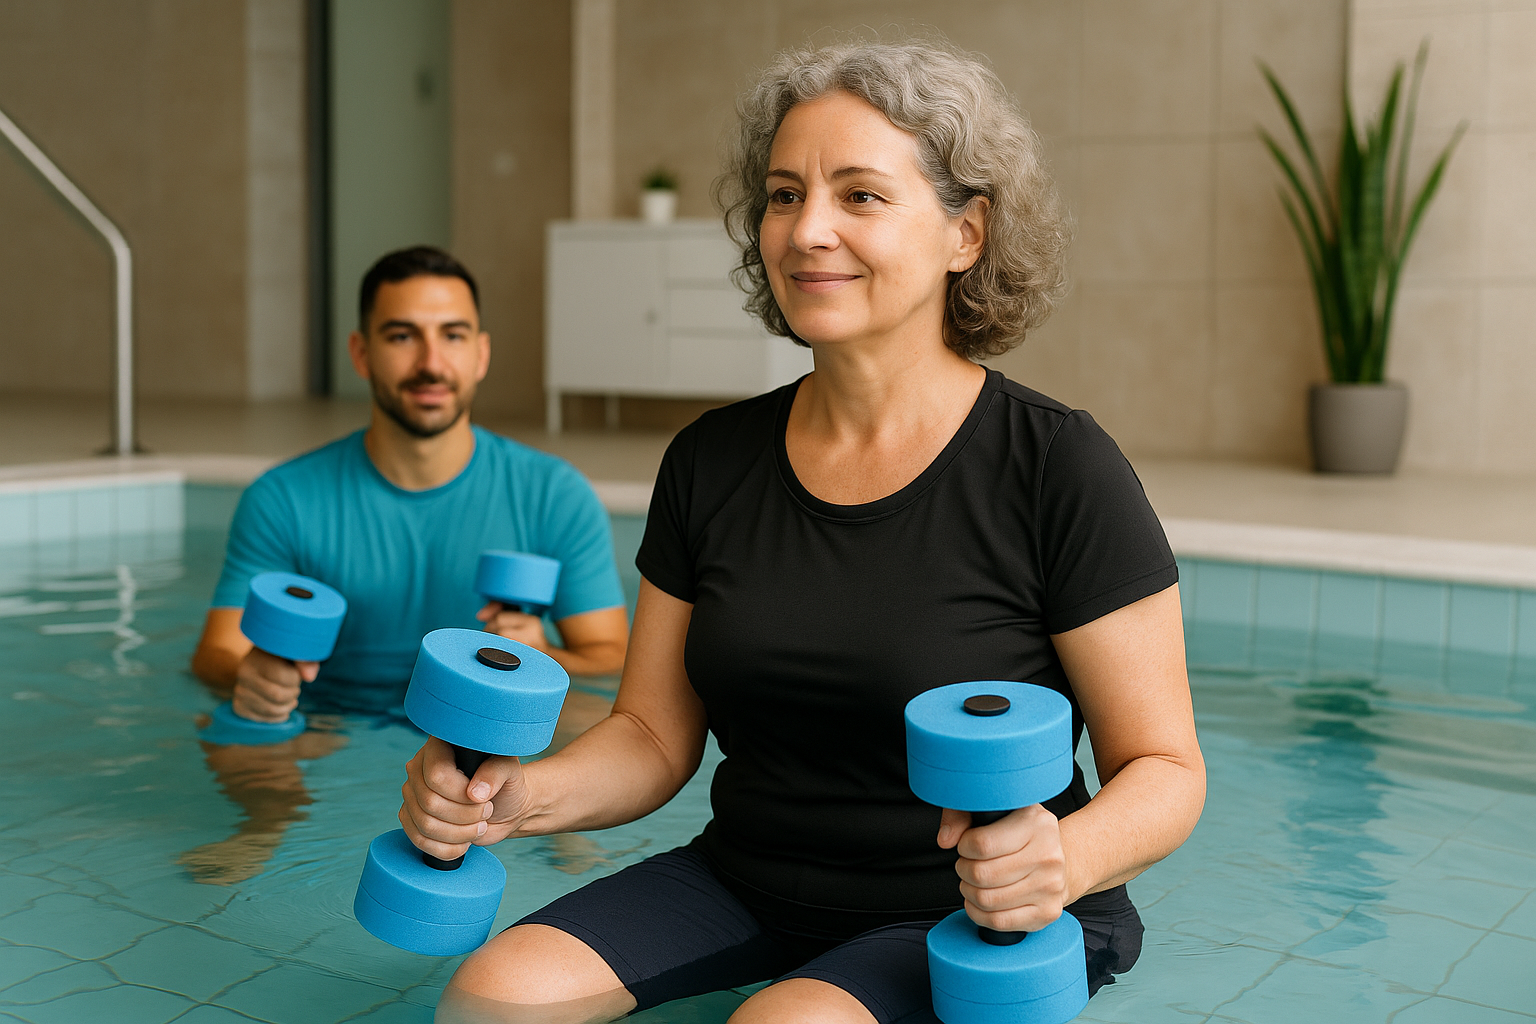
The therapeutic process continues even after you leave the clinic. Proper aftercare is essential for maximizing the benefits of your session and supporting your body’s healing process. This aligns with our core value of patient education and empowering you to take an active role in your recovery.
Following your session, your therapist will advise you to:
- Stay Hydrated: Drink plenty of water to help your lymphatic system flush out the toxins that were brought to the surface.
- Keep the Area Warm: Protect the treated area from cold drafts, wind, and air conditioning. This helps maintain blood flow and prevents muscles from tensing up.
- Rest and Avoid Strenuous Activity: Give your body time to process the treatment. Avoid intense workouts, saunas, or hot tubs for at least 24 hours.
- Avoid Showers Immediately After: It's best to wait at least 3-4 hours before showering to allow your pores to close and your body to regulate.
Some people may feel slightly fatigued or experience mild, flu-like symptoms as their body processes the released toxins. This is a normal part of the detoxification process and a sign that the therapy is working. By following these simple guidelines, you'll enhance your circulation and recovery, paving the way for lasting relief and improved well-being.
Ready to experience the deep, decompressive relief of cupping therapy? Book your personalized cupping therapy session with our expert doctors at Physio Cure Dubai and take the first step toward a healthier, pain-free life.
Frequently Asked Questions
Need Help With Your Recovery?
Book a free consultation with our expert physiotherapists.
Related Articles

Essential Diet Tips for Fibromyalgia Pain Relief Guide
Discover anti-inflammatory foods, trigger pitfalls, and holistic strategies to ease fibromyalgia pain, fatigue, and brain fog. Start eating for relief today.
11 min read
Massage Therapy for Fibromyalgia: Relief & Calm Explained
Discover how specialized massage therapy interrupts pain signals, eases tension, and improves sleep for fibromyalgia relief within a doctor-led holistic plan.
13 min read
Low-Impact Exercises Guide for Fibromyalgia Relief
Discover gentle, doctor-led low-impact workouts that ease fibromyalgia pain, boost energy, and fight flare-ups. Learn guidelines, tips, and personalized care.
14 min read